
A bicycle cassette is an integral part of your bikes drivetrain. The cassette consists of cogs or sprockets that sit on the freebody hub and are held in place by a lock ring. The chain wraps around the cassette and a chain ring on the front of the bike forming a closed circuit that is powered by turning the pedals. Every element of the drivetrain will gradually wear over time and need to be replaced.
Here is a simple how to guide for removing and replacing a cassette.
Why change a cassette?
The amount of wear your cassette will experience will largely depend on the amount you ride, the conditions you ride in and how well you clean and maintain your drivetrain. The wear of the chain, cassette and chain rings will be sped up by riding in the wet or not properly removing dirt and grit from your chain. Incorrectly lubing your chain will also result in premature wear of your cassette.
Most of us will spend the majority of our time on the bike in between half a dozen cogs meaning those cogs will wear more than less frequently used cogs, such as the 11 tooth cog. It is possible to replace a single cog but some cassettes don't have replacement parts or are a single unit and most often you're better off changing the whole thing.
A worn chain is the largest contributor to a worn cassette, as a chain wears it grows longer and in turn will begin to ride on the cog teeth edge, as opposed to the base of them. Eventually, the cogs on a used cassette will have thinner teeth which means a new chain won't sit down properly, loosing efficiency and potentially skipping gears. This will result in poor drivetrain performance and lead to you having to do more work than is necessary to keep the pace.
Having a new cassette will improve shifting and how well the chain sits in the teeth of the cassette improving your efficiency and therefore performance.
Each manufacturer will have different specifications for how long a cassette should last, but the key indicator will always be chain wear. It's worth keeping a close check on wear every 500 - 1,000 km, especially if you live near a beach or regularly ride in adverse weather conditions.
You may also want to change the cassette to allow for easy pedalling gears. For example if you plan to ride a hilly Gran Fondo and have an 11-25 cassette on the back, you may want to swap to an 11-28 or 11-32 to better negotiate any steep gradients you may encounter.
What you need?
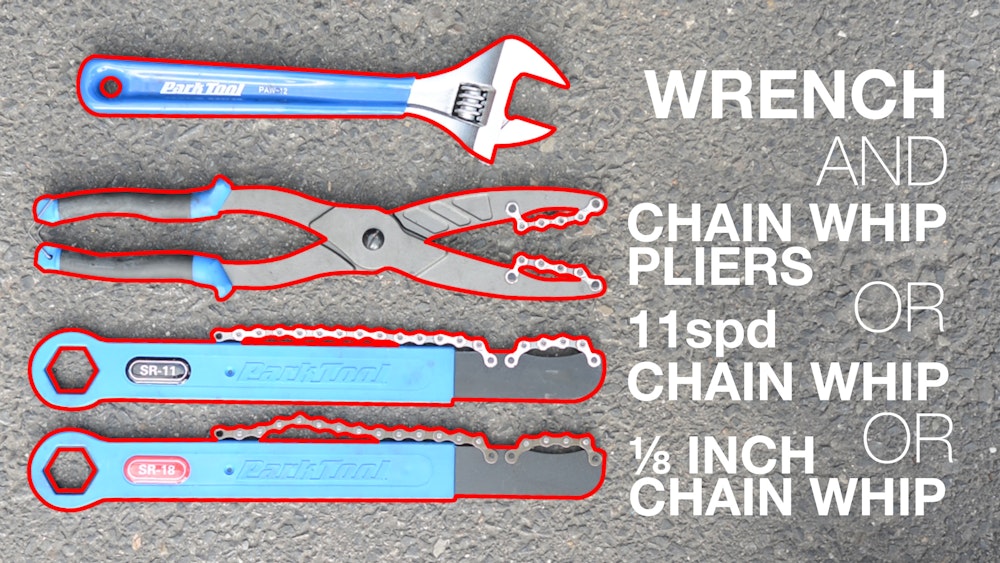
Lock ring tool
Chain whip
Wrench, spanner or vise to turn lockring tool with
Grease
Removing the cassette
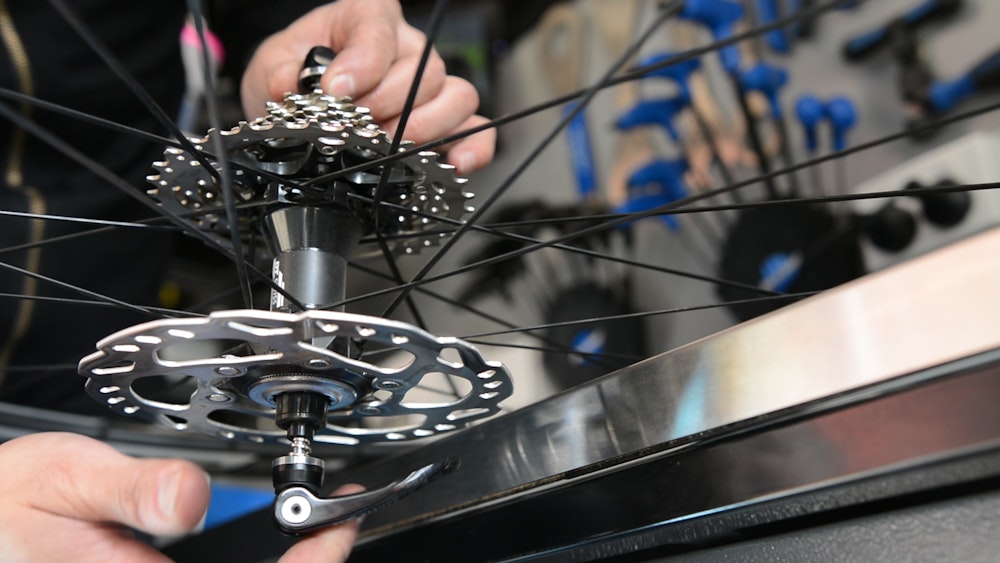
Before you remove the cassette you must first remove the rear wheel. To do this place the chain in the smallest chain ring on the front and smallest cog on the back. This will give you some chain slack and make it easier to remove the wheel.
Remove the quick release skewer. Be sure to not lose the two springs inside the skewer.
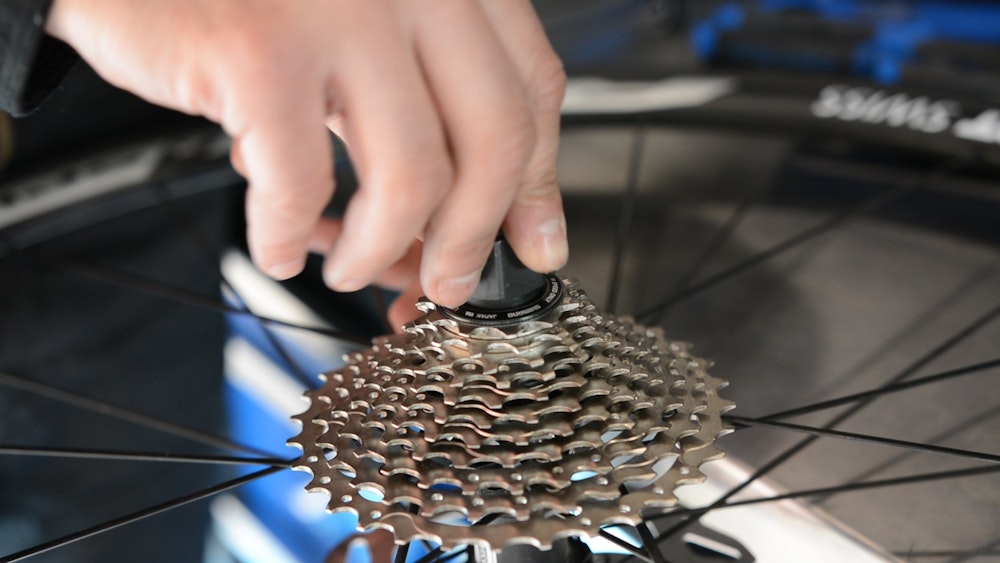
Insert the lock ring tool into the cassette. Ensure the lockring tool is correctly seated within the lockring, but don't try to force it.
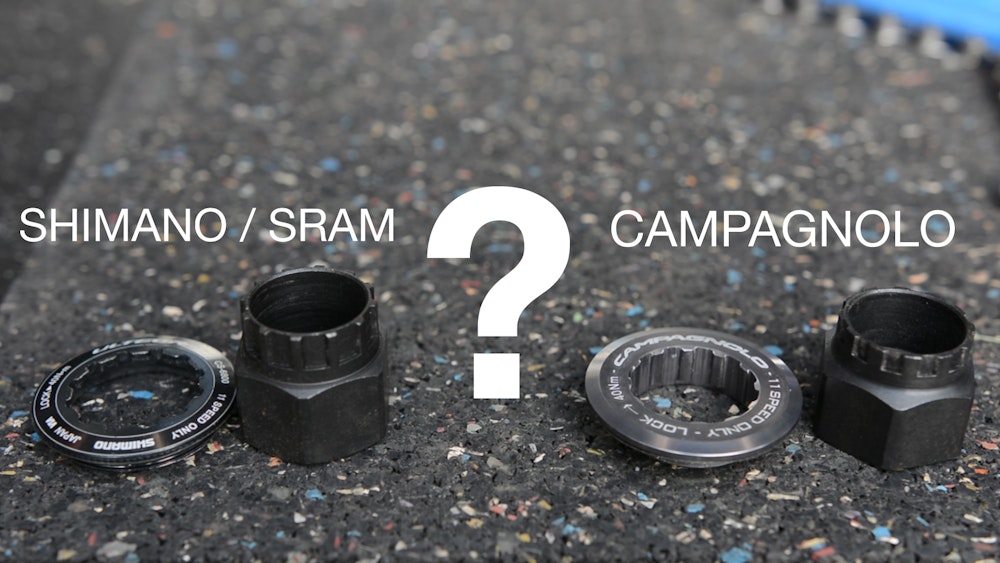
- Shimano and Campagnolo have different lock rings so be sure to use the right lock ring tool for your cassette. SRAM will use a Shimano-type lockring tool
Stand with the wheel in front of you with the cassette facing out.
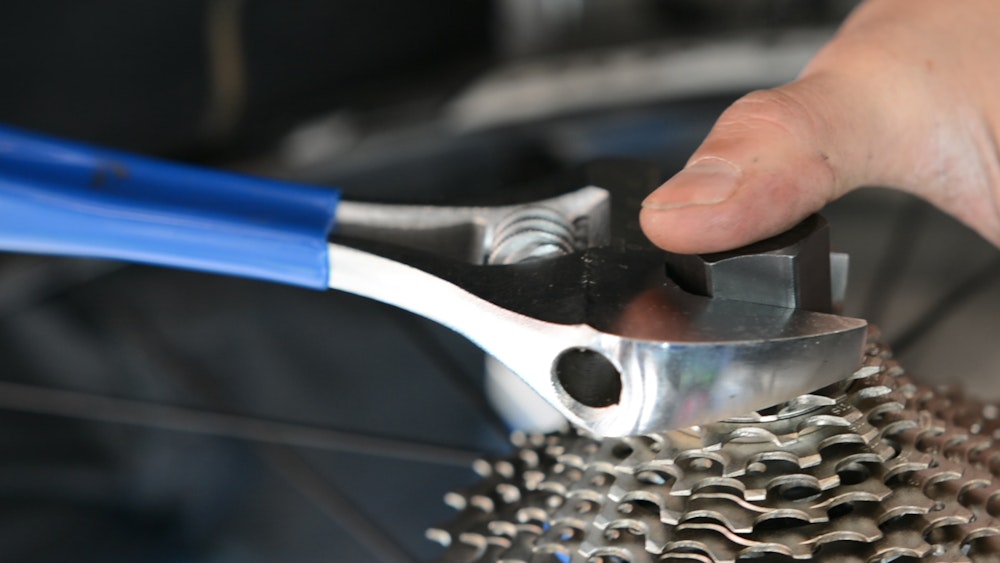
Place the wrench onto the lock ring tool and place the chain whip around the cassette in one of the larger cogs. The chain whip is there to prevent the cassette from spinning when you begin to turn the wrench so make sure it is on the correct way to prevent any movement. Have the chain wipe in your left hand with the chain wrapped around a cog in a clockwise direction.
Aim to have the wrench and chain whip handles at 10 O'Clock and 2 O'Clock. This position will give you leverage to make the process easier. Loosen the lock ring with a solid push on the wrench in an anti-clockwise direction.
Once it is loose you can simple screw the lock ring off by hand. Once the lock ring is removed you can start taking the cogs and spacers off the cassette. If you plan on using these again or swapping them to another bike, it's best to lay them out in order to prevent any mishaps when installing them next time. It should be hard to get the order wrong given they will all be different sizes based on their order, but it's easier to forget a spacer.
Installing a new cassette
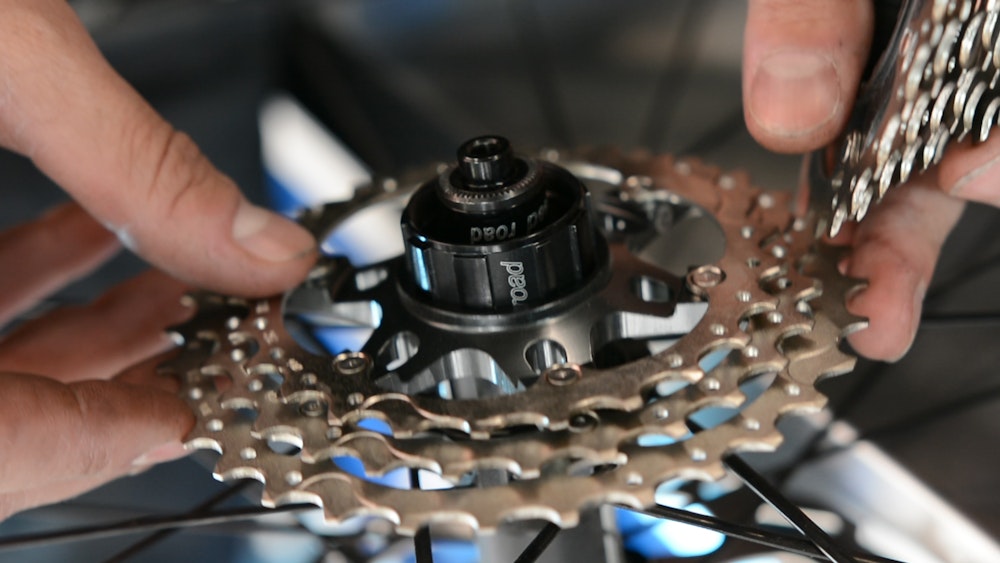
Some cassettes will be one piece while others will have individual cogs. Either way the cassette or cogs will have grooves in them to perfectly fit the freehub body. Look for one of the ridges (or gaps between the ridges) on the freehub body to be either smaller or larger than the others which matches up with a small (or larger) grove on the cassette or cogs. This is your guide for easily fitting the cassette or cogs onto the freebody hub.
Before you start placing the cassette or cogs onto the freehub body it's recommended to place grease onto the freehub body to prevent any seizing.
Most often the cogs will indicate the size with a small number. These numbers almost always face outwards so be sure to have them orientated the right way. Remember, never try to force a cog onto the freebody hub. They should slide on easily without force, if you have to force something into place it's most likely the wrong way.
Once the cassette or cogs are on it's time to grease the lock ring thread and insert it into place. Hand tighten using the lock ring tool.
To fully tighten the lock ring you only need to place the wrench around the lock ring tool and tighten. Because you are tightening the same way you would normally pedal there is no need to hold the cassette into place. As a rough guide, tighten the cassette to a similar torque as you would pedals – it should be snug.
Replace the skewer and put the wheel back onto your bike. Shift through the gears to make sure they are changing properly.
Helpful tips
Make sure you chain and cassette match up: If you have an 8-speed chain you should have a 8-speed cassette. If you have a 10-speed chain you should have a 10-speed cassette.
Your chain will wear quicker than your cassette but it's worth replacing your cassette every second or third time you replace your chain. This will depend on the amount your ride, the conditions you ride in and how well you maintain your drivetrain.
While you have the cassette off the bike it is a great time to clean it thoroughly as you'll easily be able to access areas normally impossible because of the bike.
It's important to know the difference between a 'cassette freehub' and a 'freewheel'. The cassette freehub system uses splines to hold the cogs in place and features on all but the cheapest wheel systems built in the last two decades. The cassette freehub houses the coasting mechanism within the hub. By contrast, a freewheel system houses the coasting mechanism within the cogs and threads are used to screw the cassette into place. This older system still exists on modern cheap bicycles. If you are unsure which system features on your wheelset, then look for a lockring similar to that pictured here - if no lockring is present or you’re still unsure, then ask you local bike shop for advice and required tools.


