
Why is it important to be able to change your pedals?
Replacing or installing pedals is a simple process but one you want to make sure you get right because without them your bike is useless. For some, the need to change pedals may be infrequent, but for those who regularly travel with their bike or swap pedals between bikes, it's a process worth mastering.
The simple tips outlined below works for both clipless pedals and standard flat pedals.
What you need
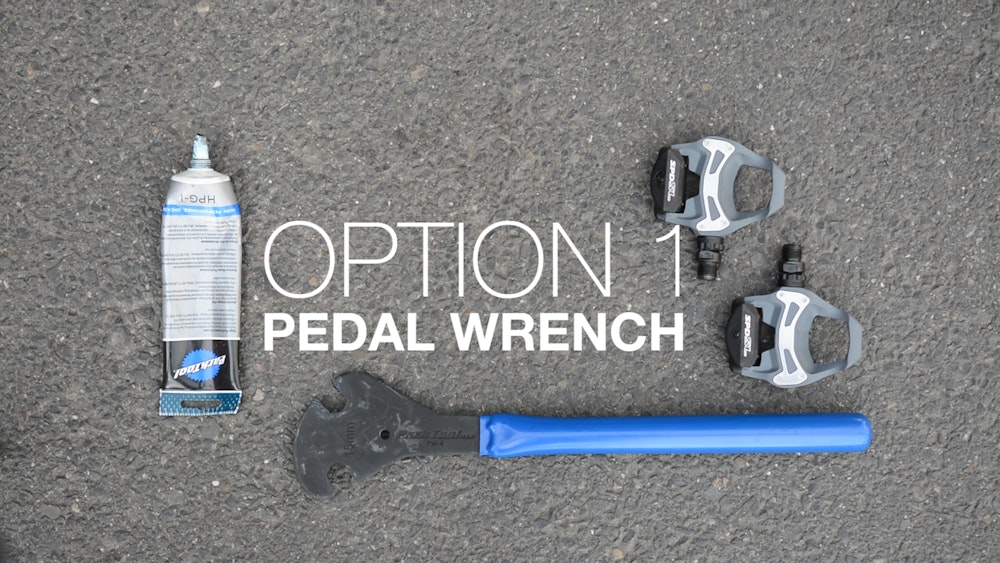
Pedal Wrench or Spanner: Speciality tool for taking pedals off
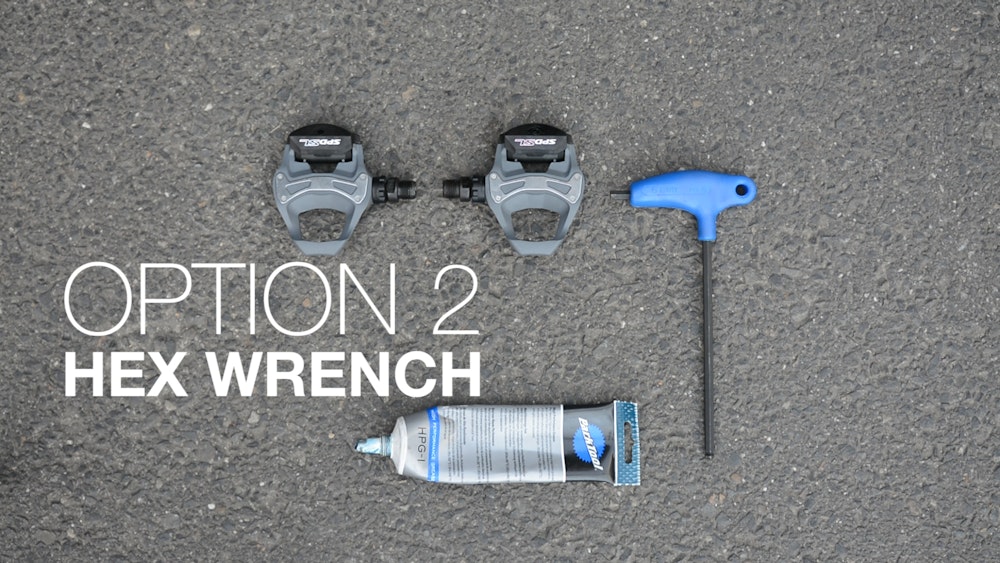
8mm or 6mm Allen or Hex Key
15mm wrench or spanner
Lubrication / grease
While a 15mm open ended spanner may work, a bicycle pedal wrench offers a narrower width to fit onto the commonly small gap provided. Another key factor is leverage, with bicycle-specific pedal wrenches and hex keys typically offering a longer lever to free tight pedals with.
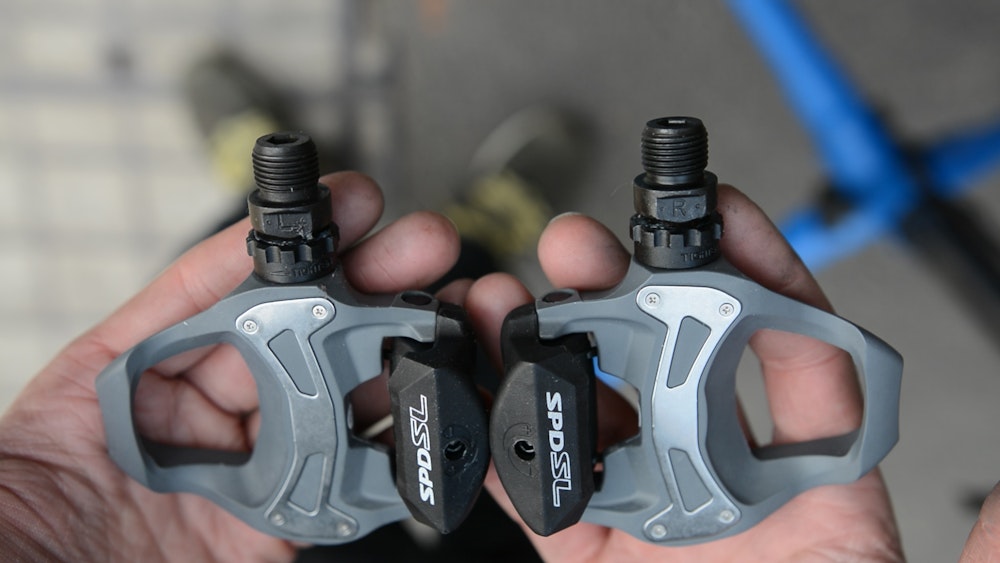
- Some pedals will have a 'wrench flat' which is a flat surface on the top and bottom on the spindle for a wrench to fit to. Some pedals will not have these flat surfaces, instead equipped with a Hex fitting in the spindle which requires an 8mm or 6mm Allen Key to remove and install pedals.
Removing the Pedals from the Non-Drive Side
Before you start removing pedals, move the chain into the large chainring. This will prevent the teeth of the large chainring cutting your hands in the event of a slip or poor hand position.
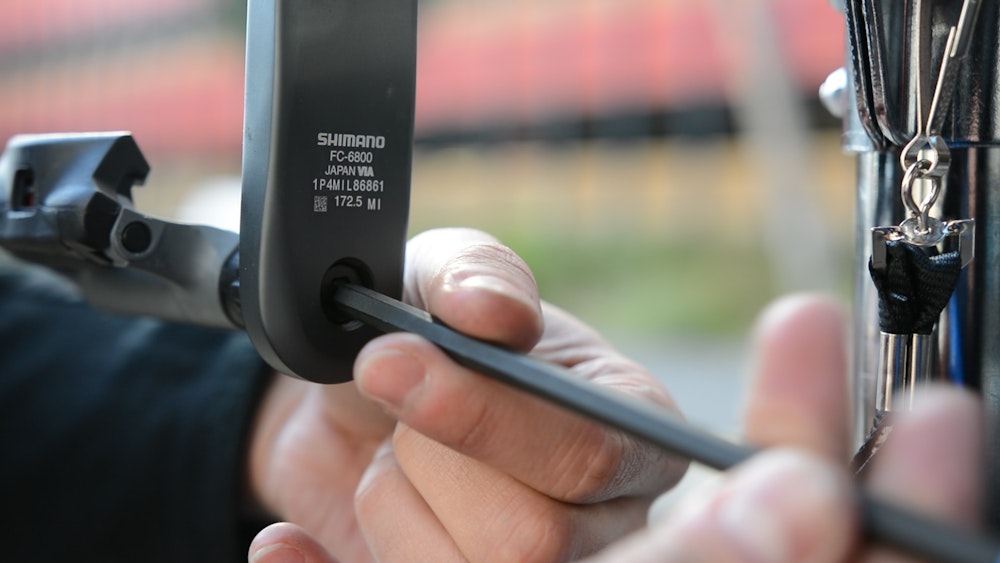
Allen Key: If you are using an Allen Key to remove your pedals, you will need to access the Hex fitting from the inside of the crank arm. Start by placing the short arm of the Allen Key into the Hex fitting, enabling you to create leverage with the long arm.
Fix the Allen Key into position with the crank arm at 6 O'Clock (pointing towards the ground) and the Allen Key at 90degrees to the crank arm, at 3 O'Clock (pointing towards the back of the bike). Hold the pedal still and push in a clockwise direction on the Allen Key until the pedal comes loose.
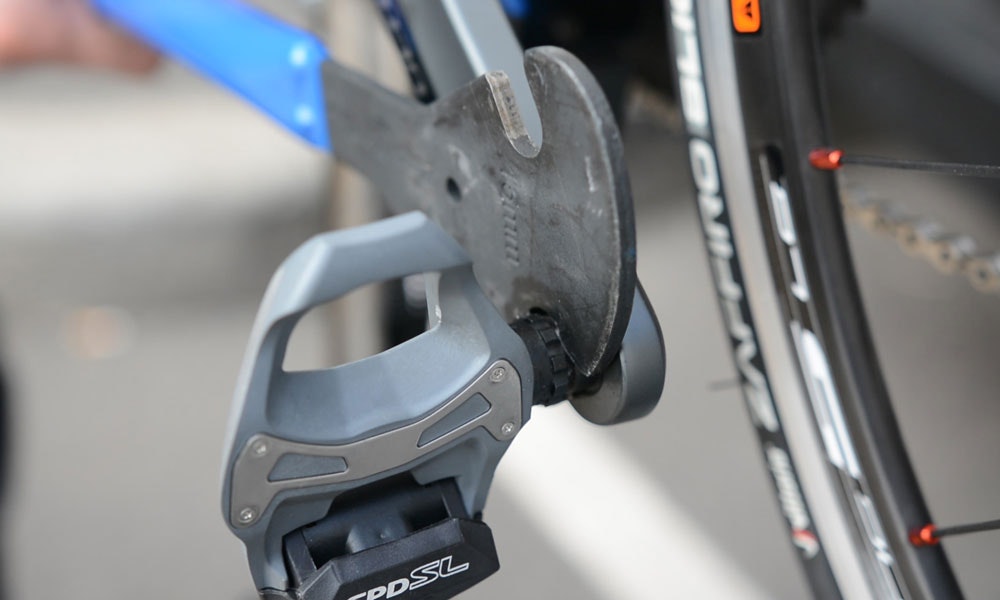
Pedal Wrench: If you are using a Pedal Wrench to remove your pedals, you will be able to access the 'Wrench Flat' area of the pedal spindle from outside the crank arm. Start by placing the Pedal Wrench onto the pedal spindle with the crank arm at 9 O'Clock (facing towards the front of the bike) and the Pedal Wrench at 3 O'Clock (towards the rear of the bike). Hold the pedal still and push down on the wrench in an anti-clockwise direction until the pedal comes loose.
In both instances, once the pedal has been loosened, keep turning the pedal in the same direction until it comes off.
A good way to remember which way to the pedals come off is to think that the Allen Key or Pedal Wrench will move in the opposite direction to the normal pedaling action.
Removing the Pedals from the Drive Side
Allen Key: The same process applies for removal of the pedals on the Drive Side, but this time in an anti-clockwise direction. Fix the Allen Key into position with the crank arm at 6 O'Clock (pointing towards the ground) and the Allen Key at 90degrees to the crank arm, at 3 O'Clock (pointing towards the back of the bike). Hold the pedal still and push in an anti-clockwise direction on the Allen Key until the pedal comes loose.
Pedal Wrench: The same process applies when using a Pedal Wrench on the Drive Side. Start by placing the Pedal Wrench onto the pedal spindle with the crank arm at 9 O'Clock (facing towards the front of the bike) and the Pedal Wrench at 3 O'Clock (towards the rear of the bike). Hold the pedal still and push down on the wrench in an anti-clockwise direction until the pedal comes loose.
Replacing the pedals
Before replacing the pedals, now is a good time to clean the thread on the pedals and inside of the cranks. Remove any dirt, grime and moisture with a towel or soft fabric before replacing the pedals.
Once the threads of the pedal and crank arm are clean and dry, apply some grease or another type of anti-cease compound onto the pedal and crank arms threads. This is to ensure your pedal doesn't get locked into position and become impossible to remove in the future. It will also make it easier to tighten the pedal into position.
Allen Key: Place the pedal into the crank arm and use the Allen key (from the inside) to tighten the pedal. For the drive side turn clock-wise, and anti-clockwise for the non-drive side. Keep turning the Allen key until the pedal is tight.
Pedal Wrench: Start by screwing the pedal into the crank arm by hand until you feel some resistance. Then place the Pedal Wrench into position and begin to tighten, clockwise for the drive side, and anti-clockwise for the non-drive side.
Other Important info
How hard is too hard? It's hard to know exactly how tight pedals need to be. 360 inch-pounds of torque is the common measurement for pedals, which equates to about 12-15kg of force exerted onto a Pedal Wrench. Try to get the pedal as tight as possible without having to put your whole body into it. Arm tight should be enough.
If you have carbon crank arms it is wise to place a washer between the crank arm and the pedal. That way the pedal spindle won't tighten into the crank arm.
Just like every other element of your bike, pedals need to be serviced to ensure they are smooth and performing optimally. Make a point to get them checked every 6-12 months, which will also serve as a good reminder to take them off and re-grease them.

Thanks BikeFix Mobile for the helpful advice and expert mechanic.


