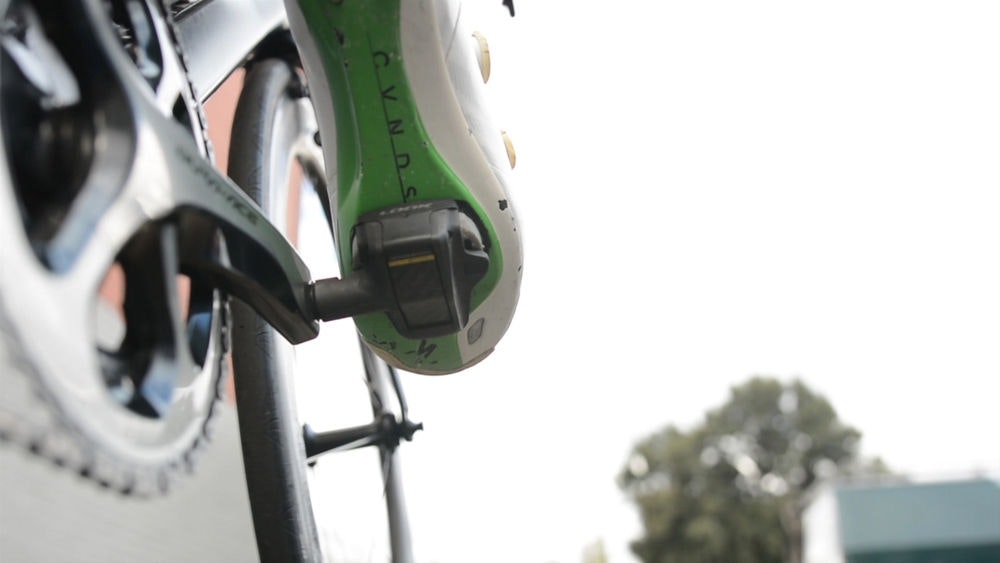
Why is it important to change your cleats?
You'll know for sure when it's time to change your cleats when you start pulling your shoe out of the pedal when taking off at a set of lights, but don't let it get to that point.
If you don't change your cleats regularly you could develop an injury due to biomechanical change over time as a result of excessive cleat wear. As the main part of your cleat wears, it changes the position it sits on the pedal and consequently the angle at your ankle, knee, hip and back. Even small changes in your biomechanics can lead to large issues due to the repetitive nature of cycling.
A typical 3-hour weekend long ride will result in 16,200 pedal repetitions if you have a cadence of 90rpm. If your cleat is worn and not in its correct position, it may cause hot spots or excessive biomechanical stress through your ankle, knee, hip or back. Even a couple of millimetres will place load where it's not meant to be, potentially leading to bursitis, tendonitis or worse.
Your body may adapt to the changing cleat position over time, but another potential issue could arise when you do finally decide to change your old cleats. If you leave them too long before changing, the new cleat position will require a big biomechanical adjustment and could cause injury.
When should you change your cleats?
As previously mentioned, if you start 'pulling your shoe' you know for sure you have left it too long between changing cleats. Most manufacturers will specify a mileage indicating when you should change your cleats, but this can vary from 3,000 - 6,00 miles a huge differential. It will also depend largely on the type of riding you do, how much you walk in your cycling shoes, how often you clip in and out, if you ride in all weather conditions, and how well you look after them.
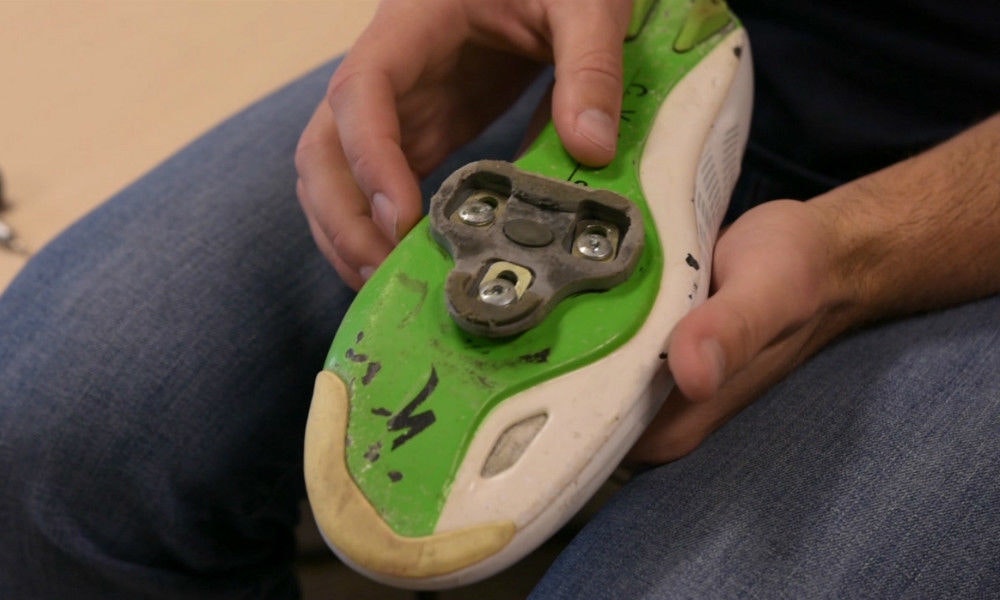
A good way to check if it's time to change your cleats is to inspect the wear on the parts of the cleat that contact the pedal. If these parts are worn, the cleat will not hold your shoe to the pedal effectively and you will start to feel your foot slipping or moving when you are clipped in and riding. As well as feeling the excessive wear on the contact points you may also hear a click when putting down greater force like climbing a hill or sprinting.
Also look for wear on the main cleat. If this area is worn, the cleat will not sit in the pedal as it should, potentially causing the issues outlined above.
How to change your cleats
There are many ways to change your cleats, some better than others. Here are a few options.
Sharpie
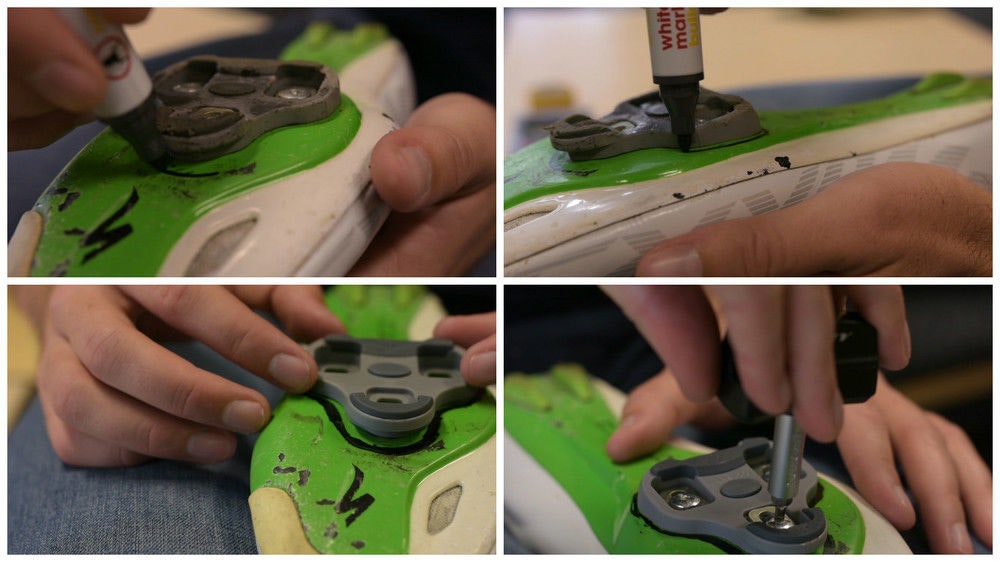
The first way is extremely quick and reliable. Use a sharpie or felt tip pen to draw an outline around your old cleat. When you remove the old cleat you will be left with an outline of the exact position for the new cleat.
- If the surface of your shoe is black, a textured pen or liquid paper will do equally as good a job. The advantage of doing it with liquid paper is you can simply scrap off the white outline of the cleat once you are finished.
Electrical tape
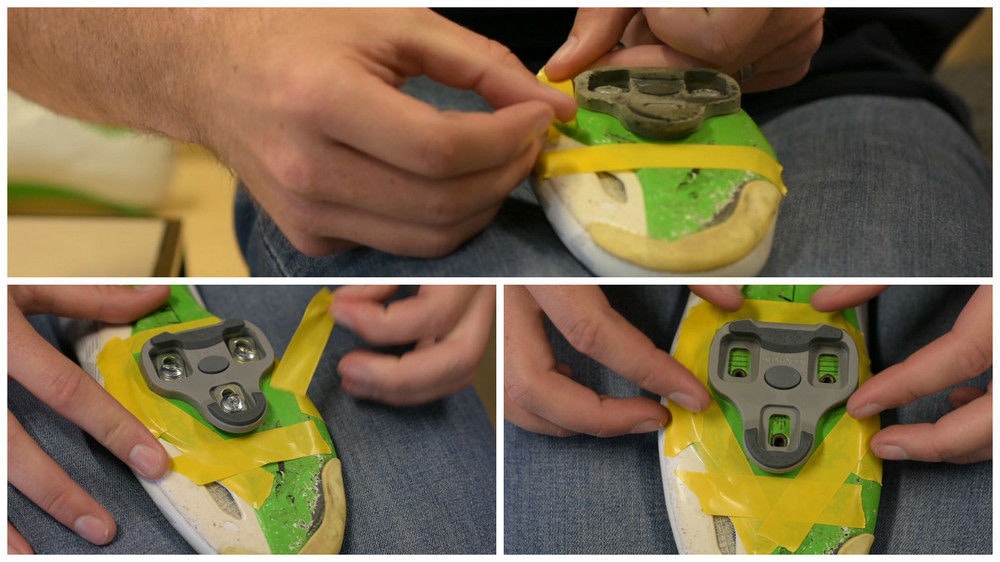
Using electrical tape to mark out the borders of the cleat is another option. It's going to take more time than drawing an outline around the cleat, but can be removed afterwards and works just as effectively.
To do this, cut some electrical tape into 1 and 2 inch strips and place it on the borders of the cleat. Tape the front and rear of the cleat to ensure the position is correct, and tape any corners or edges of the cleat to account for any rotational changes.
Once the new cleat has been replaced simply remove the electrical tape.
Grid Lines
Many shoes will have a grid or lines that you can mark and line up when replacing cleats. Either take note of the number of lines you can see or mark them with a sharpie, so you can easily replace the new cleat in the correct position.
The modern approach?
Most people wouldn't go anywhere without their smartphone, so it's safe to say if you can't get your hands on a sharpie or electrical tape, you will at least have your smartphone to help. Take a photo on your smart phone of your old cleats and use that as a guide for replacing them. This isn't going to be as accurate because you are working off sight alone rather than measuring or drawing the location, but it's better than nothing.
Tips on changing your cleats
Always clean the dirt out of the old bolts before trying to unscrew them, and grease the threads of the new bolts.
Be sure that you have an easy week on the bike after changing your cleats. As mentioned above, the position of your foot will be slightly different due to wear of the cleat body (unless you change them very frequently), so give your body a chance to adapt to the slight biomechanical change.
Be aware which cleat you are buying, ensuring it is the same as what you currently have. Look have three variations of cleat float (measured in degrees): black (0), grey (4.5) and red (9). Shimano also has three variations of cleat float options: red (0), blue (2) and yellow (6).
If you are changing your brand of cleat, it's worth getting them fitted correctly and not just assuming near enough to the old position is good enough. As stated, even the slightest biomechanical change can lead to injury and overload of key areas of your leg, so better to be safe than sorry.