

Whoever came up with the saying “it’s like riding a bike” as a way to explain something as easy, never changed a flat tire.
You’d think it’d be simple, but there’s so many ways to get it wrong and have to start over.
I was once watching on as a fiercely independent friend who didn’t want help, fixed a puncture. She’d set everything up for the CO2 perfectly and was about to release the flow control thread, only to discover after she hadn’t undone the valve. Lucky we had back up canisters. These things happen to the best of us!
Then, even if you don’t have one of these little mishaps and do every step down perfectly there are those ridiculously tough to tackle tire and wheel combo’s that are so tight they give even experienced bike mechanics a headache. That’s why we weren’t surprised when one of the first Ask Ella questions sent to us by a reader was, how do I make those tough tire changes easier? Let’s run through the basics and then go onto some tips that may help.
PREPARATION
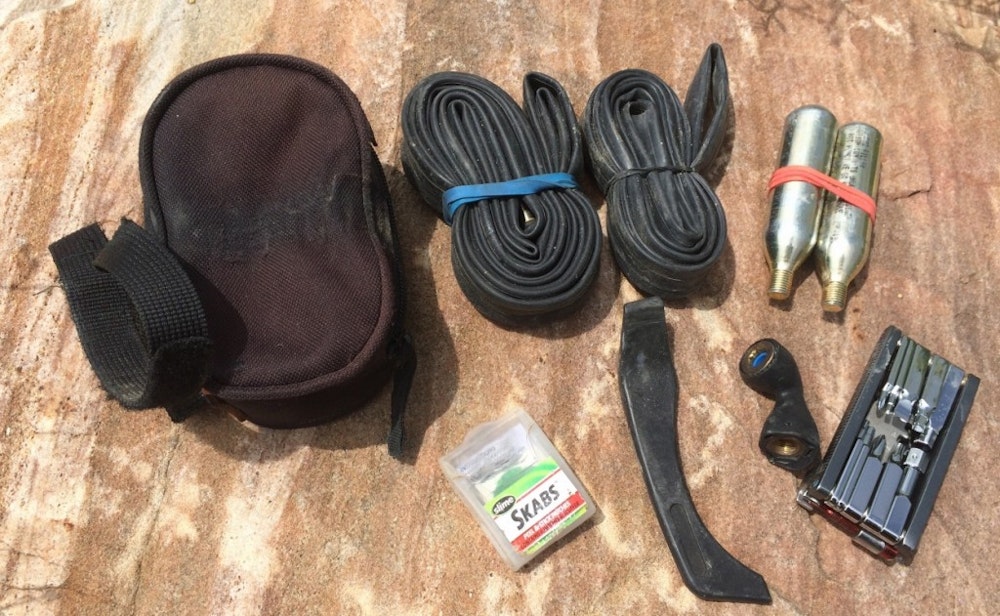
The first thing with tackling a flat – or any other minor mechanical on the road – is to make sure you’ve got everything you need to deal with it. You can read up on all the details in our saddle bag essentials article but this is a quick list of the basics I carry:
A tube
Patches
Tyre Levers
CO2 Canister or pump
Multi-Tool
CO2 Inflator
CHANGING A TIRE 101
There are plenty of instructions and videos out there on how to change a tire and many small variations in method. Often it’s easier to pick up the technique from watching, so here’s a how to video from Specialized that runs through the basics.
TIPS:
Don’t forget to inspect. I’ve seen so many people stopped down the road doing a second change because the object that caused the flat wasn’t removed. Carefully – and I can’t stress that enough as if it’s sharp enough to pop your tube it may hurt – run your fingers along the inside of your tire to feel for and clear anything that may have caused the puncture.
Use plastic, not metal tire levers. They can cause damage to rims made of softer materials. Better levers snap than rims become damaged under pressure.
Realign logos and brands with the valve. This helps with your inspections on punctures, when you locate the hole in the tube you have an instant reference point tracing back from the valve for where the tire was pierced.
Carry a patch. Remember being a kid and popping your favorite pool toy? The heartbreak game was strong, until the parents came out with this magical kit, and all of a sudden, you could ride that ridiculous inflatable vehicle like there was no tomorrow. Well, your heartbreak is redeemable here again, with the patch. Much like a pool toy, you can patch the tire if you can find the puncture, which can be ace if you puncture too many tires. Facing the aero element we pack light, which doesn’t always mean we stock two tubes, so for me the patch is a dire back up tool.
tire change, puncture, repair
STUBBORN TIRES THAT SEEM TO REQUIRE HULK HANDS
What about when you’ve got one of those tires that even the most experienced and strongest rider in the group doesn’t seem to be able to get back on? At Ella’s recent My Mountain workshop my colleagues asked about those troublesome tires and apparently the mechanics were quick to bring out their stories of wheel set ups that made them all feel like running away when one came into the workshop. It’s nice to know that even experienced bicycle mechanics that make a normal change look so quick and easy, at times have to work hard to get that tire back on. But most importantly, they also passed on some hints about how to deal with them:
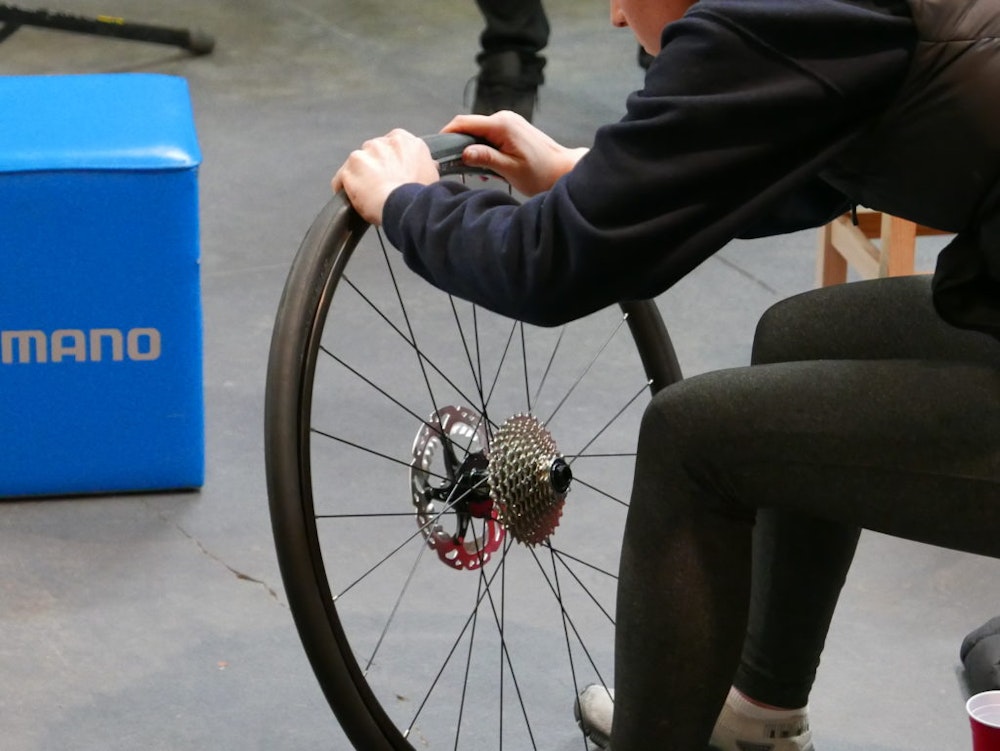
Go for the middle. Squeeze the tire beads into the center of the rim, or the well, as that is where the circumference is smaller. This way you have more slack to get the bead either off, or back on the wheel.
Keep the pressure on. This one ties in with the previous point. When you are putting the tire back on, start opposite the valve working the bead into the well, which is the depression on the inside of the rim, and keep it tight as you go around so that it remains in that position. That way you produce as much slack as possible when you hit that last point where you need to lever that last bit of tire on (preferably with your hands).
Work with small spans. Don’t try and snap the bead back onto the rim when you still have a big overhang, work with small spans to make it easier.
Avoidance is a good tactic. If you are shopping for new tires do ask your local bike shop if there are any that cause cursing in the workshop when a change is due, and steer well clear of those. It’s also about the rim. Too shallow a well can cause headaches as moving the tire into the center doesn’t give you the slack a deeper one would.
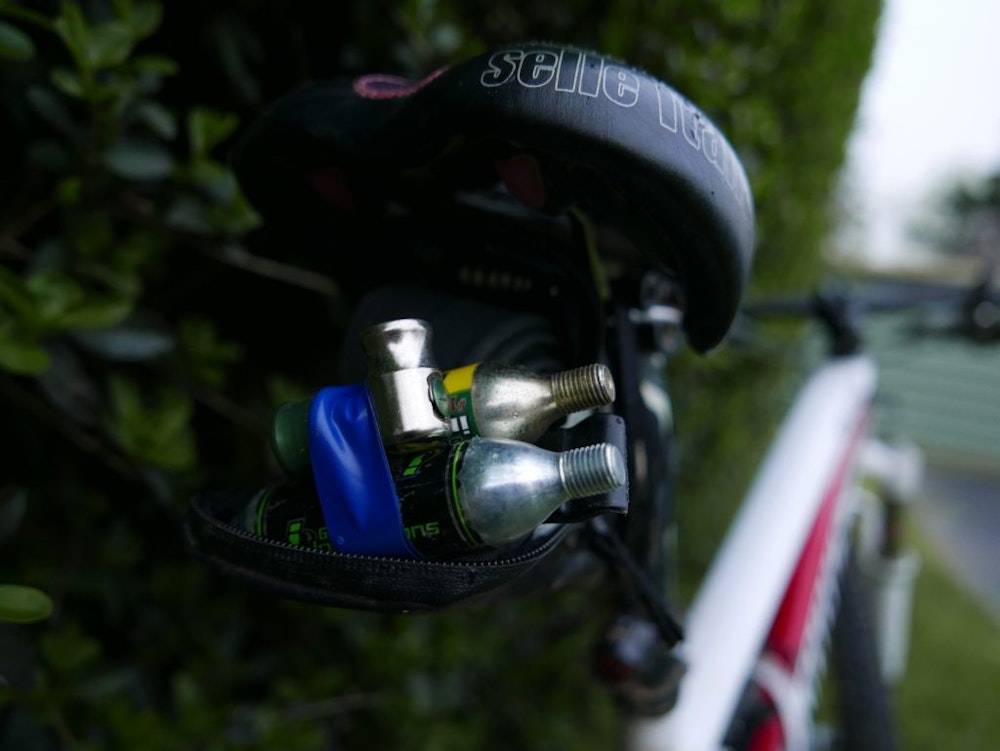
USING CO2
If you are ditching the pump and refueling with CO2, you’ll need a canister and an inflator. I recommend getting the inflator with flow control, and I’ll explain why. Looking at the inflator there’s two ends, the end you fix to the CO2 and the end you fix to the pump.
Saddle bag, tire repair
When you are giving the tube a bit of air, if you have flow control, when you have the tube valve in the inflator and ready slowly screw on the canister to the other end. Be careful here as we only want a tiny bit of air, a split second at most, then switch off the flow control quickly. The idea is to use just enough to create a circular form. If you don’t have flow control or are like me and are too fearful of it being all or nothing, it’s down to your Bear Grylls wilderness skills. Go primal and use your mouth, just press your tongue on the valve and blow.
Now with the tube in the tire and all ready to inflate, your next step will depend on exactly what type of canister and inflator set up you are using. Be sure to check out the instructions so you know the procedure that’s right for what you have. With my set up I attach the inflator on to the valve first – I like to do this just in case I haven’t got my flow control right on the canister end – then slowly screw in the canister and adjust flow control, and voila.
Just remember to make sure you are not touching the canister with bare skin when you are using it, they get super cold when the CO2 is released.
LONG STORY SHORT…
It takes some practice, so don’t expect to be as good as the mechanics on the Grand Tours in no time.
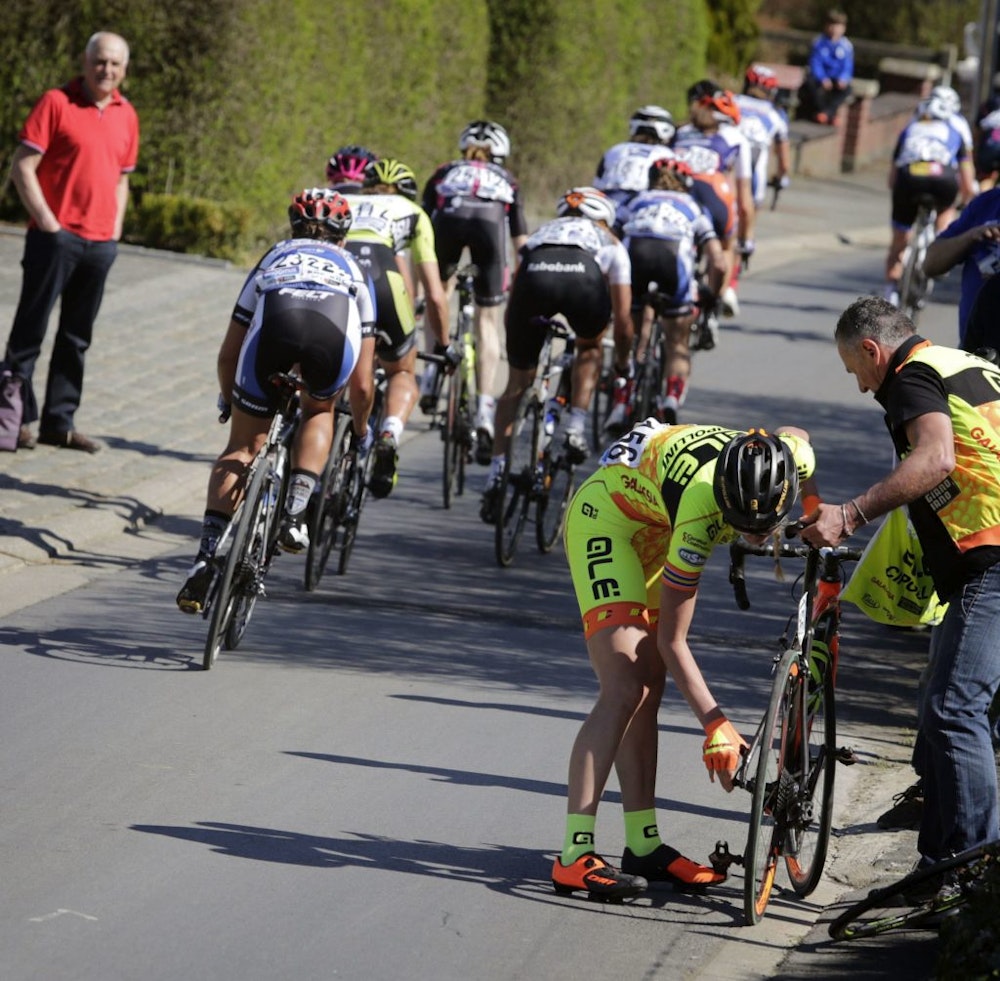
Vrouwen Ronde van Vlaanderen 2016
The first step is knowing how to get out of a sticky spot, even if it takes a bit of time, and then you can just keep improving your technique. Right now I’m challenging myself to learn to do it without levers so I can carry less.
Whatever your changing proficiency, it’s better to be able to do it yourself, so you don’t have to holler down another rider to save you, especially if there isn’t another rider around to bail you out. Been there, done that. It’s no fun compared to the beaming pride that comes with being able to say “I’ve got this”.
Follow BikeExchange: Email | Facebook | Twitter | Instagram | YouTube | STRAVA


